Stuff your zucchini
Whether you are growing your own zucchini, or you are the recipient of your neighbor’s overflow, use the vegetable to your advantage by making a fun and hearty dinner. – – – – – Italian Stuffed Zucchini for One 1 zucchini 2 tablespoons Italian-style dried breadcrumbs 2 tablespoons grated Parmesan …

Try some pesto
If you’ve ever made pesto, you know it usually takes Parmesan cheese, olive oil, garlic, pine nuts, and a whole lot of basil. Although it can be whipped up in a food processor, good pesto also is available on grocery store shelves. With a jar, you can top pasta, vegetables, …

Use up your Halloween candy
Most of the year, candy is a treat eaten occasionally. At Halloween, candy is in abundance. Whether you got too much trick-or-treating or pick it up at the post-Halloween sales, you can turn it into something different for a special snack. – – – – – Halloween Popcorn Mix 12 …

Sunday morning eggs
There is nothing like being hungry on a Sunday morning and finding in your fridge eggs, ham, cheese, and peppers. I sautéed the peppers and ham in a little olive oil, and added seasonings to the eggs that included oregano and red pepper flakes. As you can see, they weren’t …
Zucchini
To cook zucchini as a side dish, preheat grill for medium heat and lightly oil the grate. Cut your zucchini into lengthwise sections no more than 1/4 inch in thickness. Rub both sides of the slices with olive oil and season with salt and pepper. Add your favorite herbs if …
Shrimp
To thaw frozen shrimp, place them in a colander and thaw them out under cold running water for five minutes before using. If you keep a couple of 12-ounce bags of cooked frozen shrimp in my freezer, so that when the urge strikes, you can put together a quick seafood …
Cauliflower
When buying cauliflower, choose heads that are white — the whiter they are, the fresher they are. Heads also should be without discoloration. If there are leaves still attached, they should be crisp and green.
Black Bean Vegetable Soup
Print Recipe Black Bean Vegetable Soup Servings Ingredients 1 onion chopped1 clove garlic minced2 carrots chopped2 teaspoons chili powder1 teaspoon ground cumin4 cups vegetable stock2 15- ounce cans black beans rinsed and drained1 8.75- ounce can whole kernel corn1/4 teaspoon ground black pepper1 14.5- ounce can stewed tomatoes Servings Ingredients …
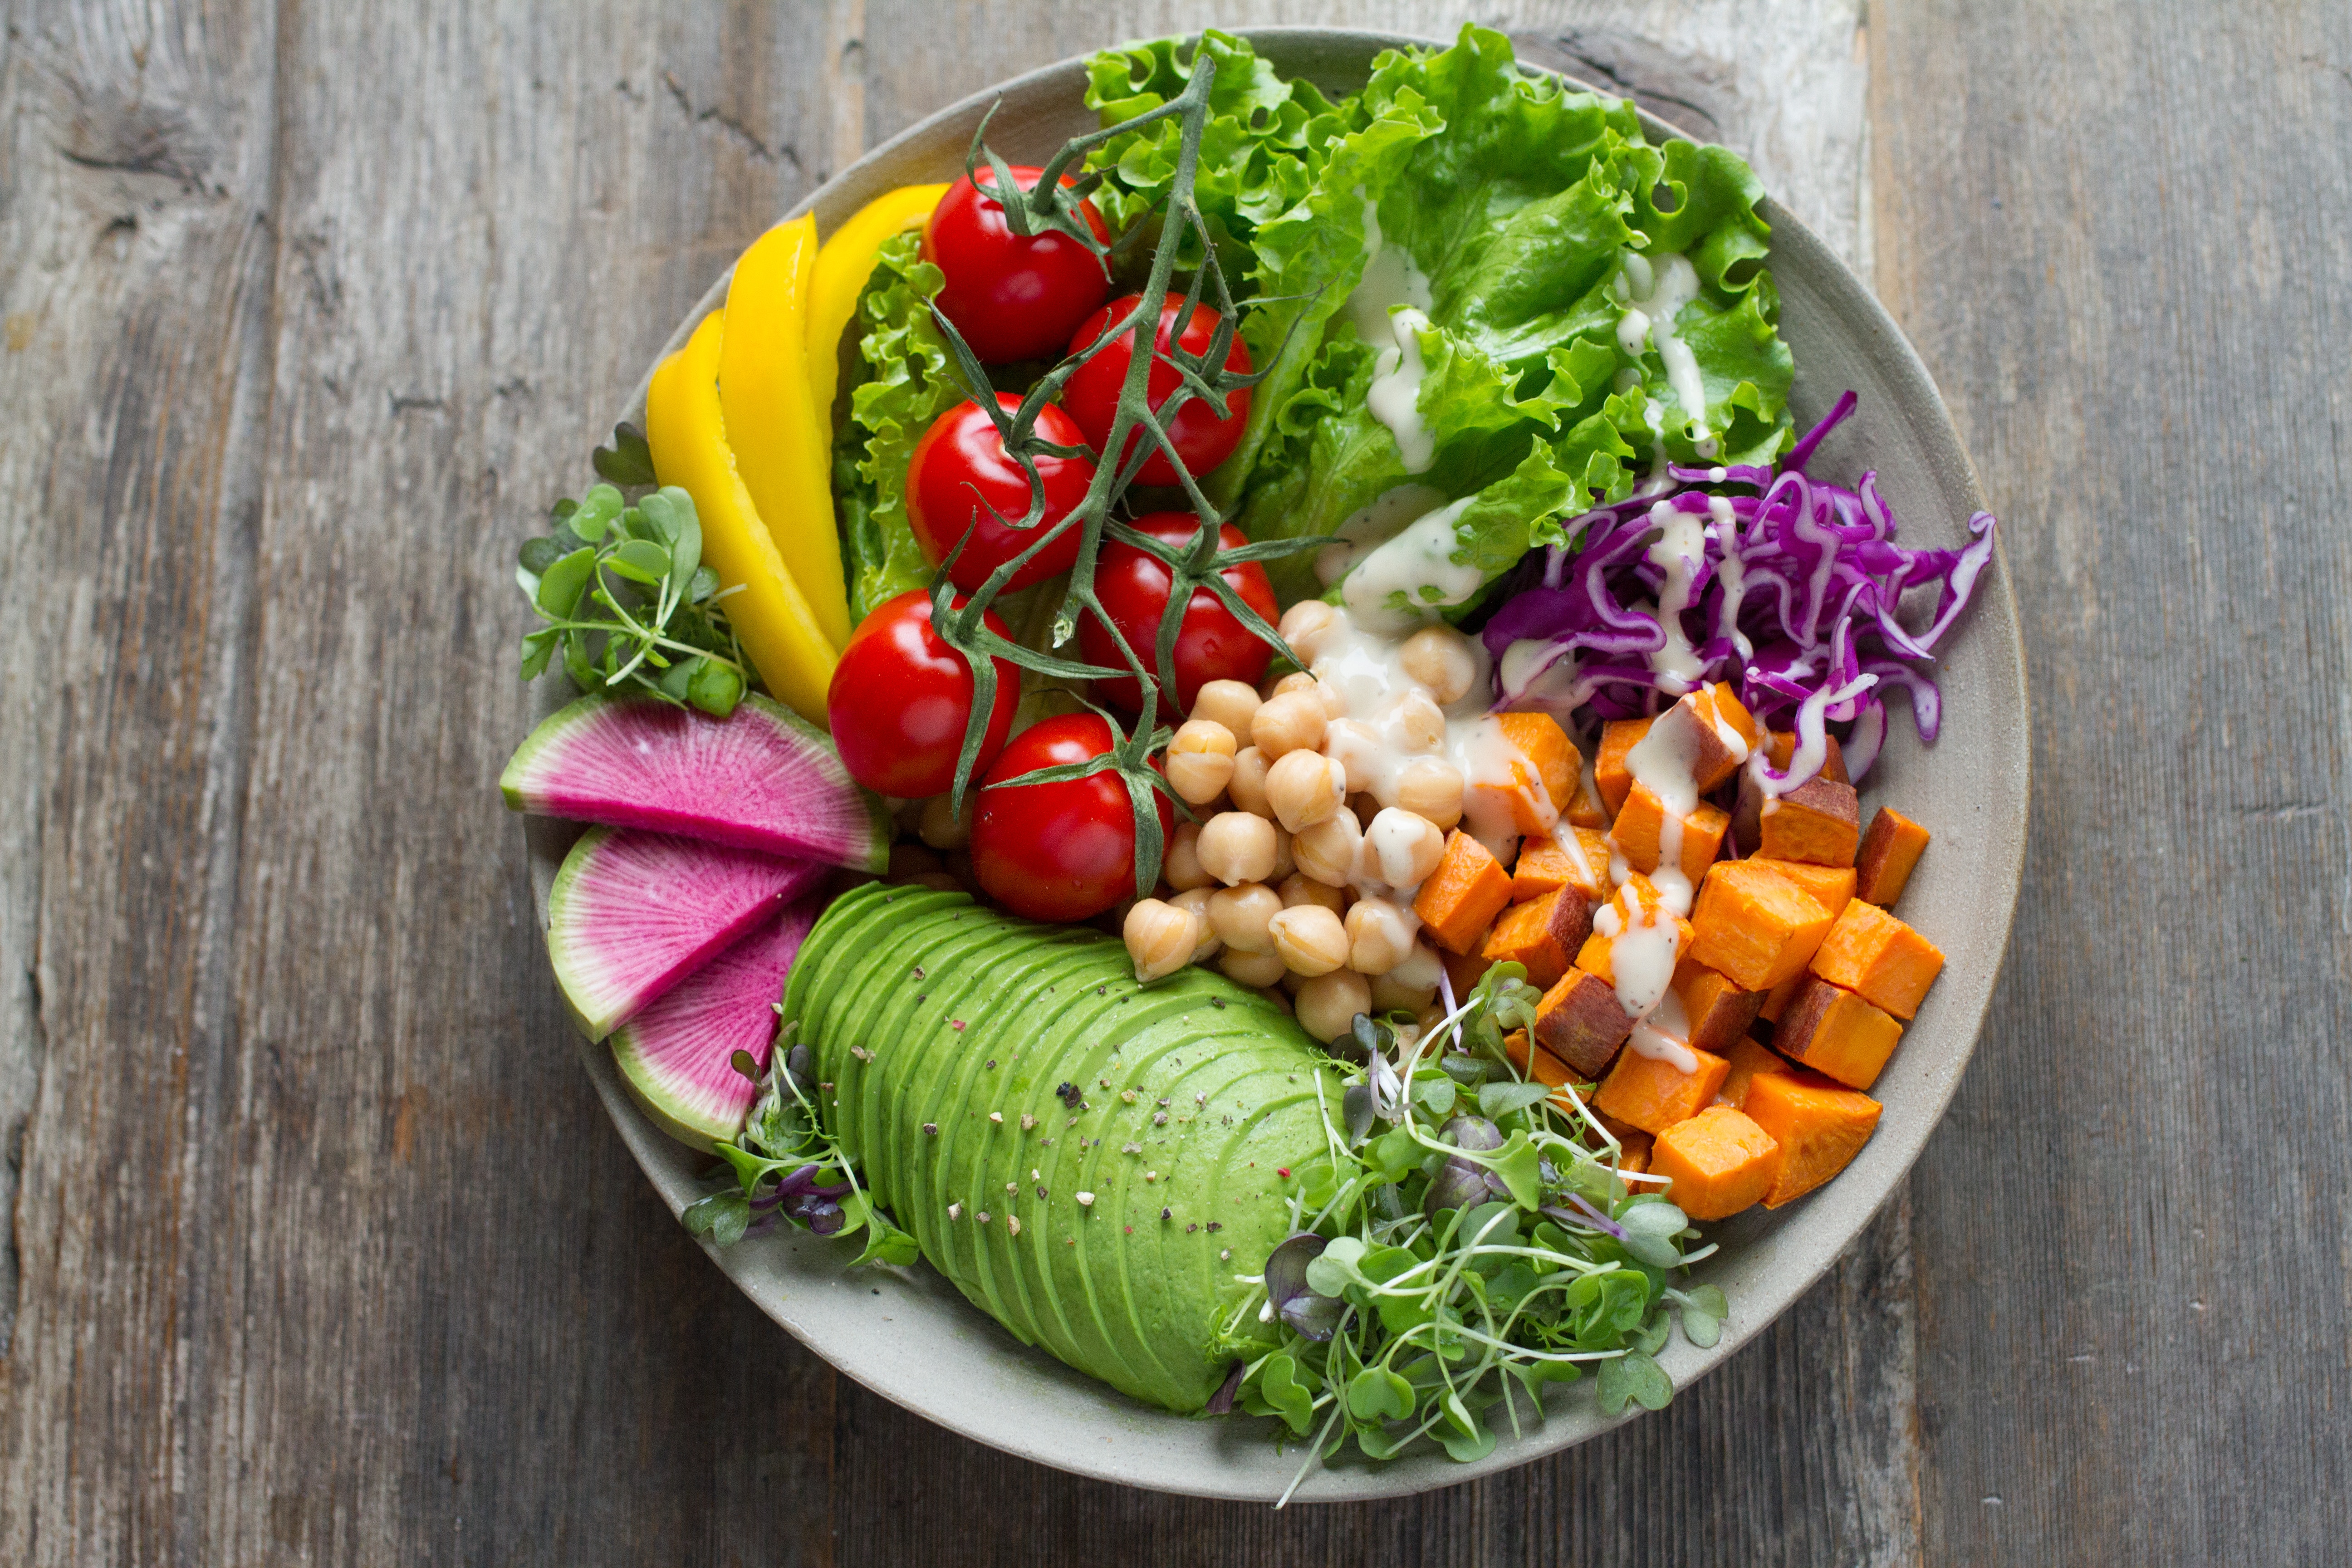
Eat more fruits and veggies this year
The new year always brings with it a sense of renewal, making many of us look back at our bad habits and make an honest effort to change them. One resolution that often gets made is to eat more fruits and vegetables, especially since we all know that eating a …